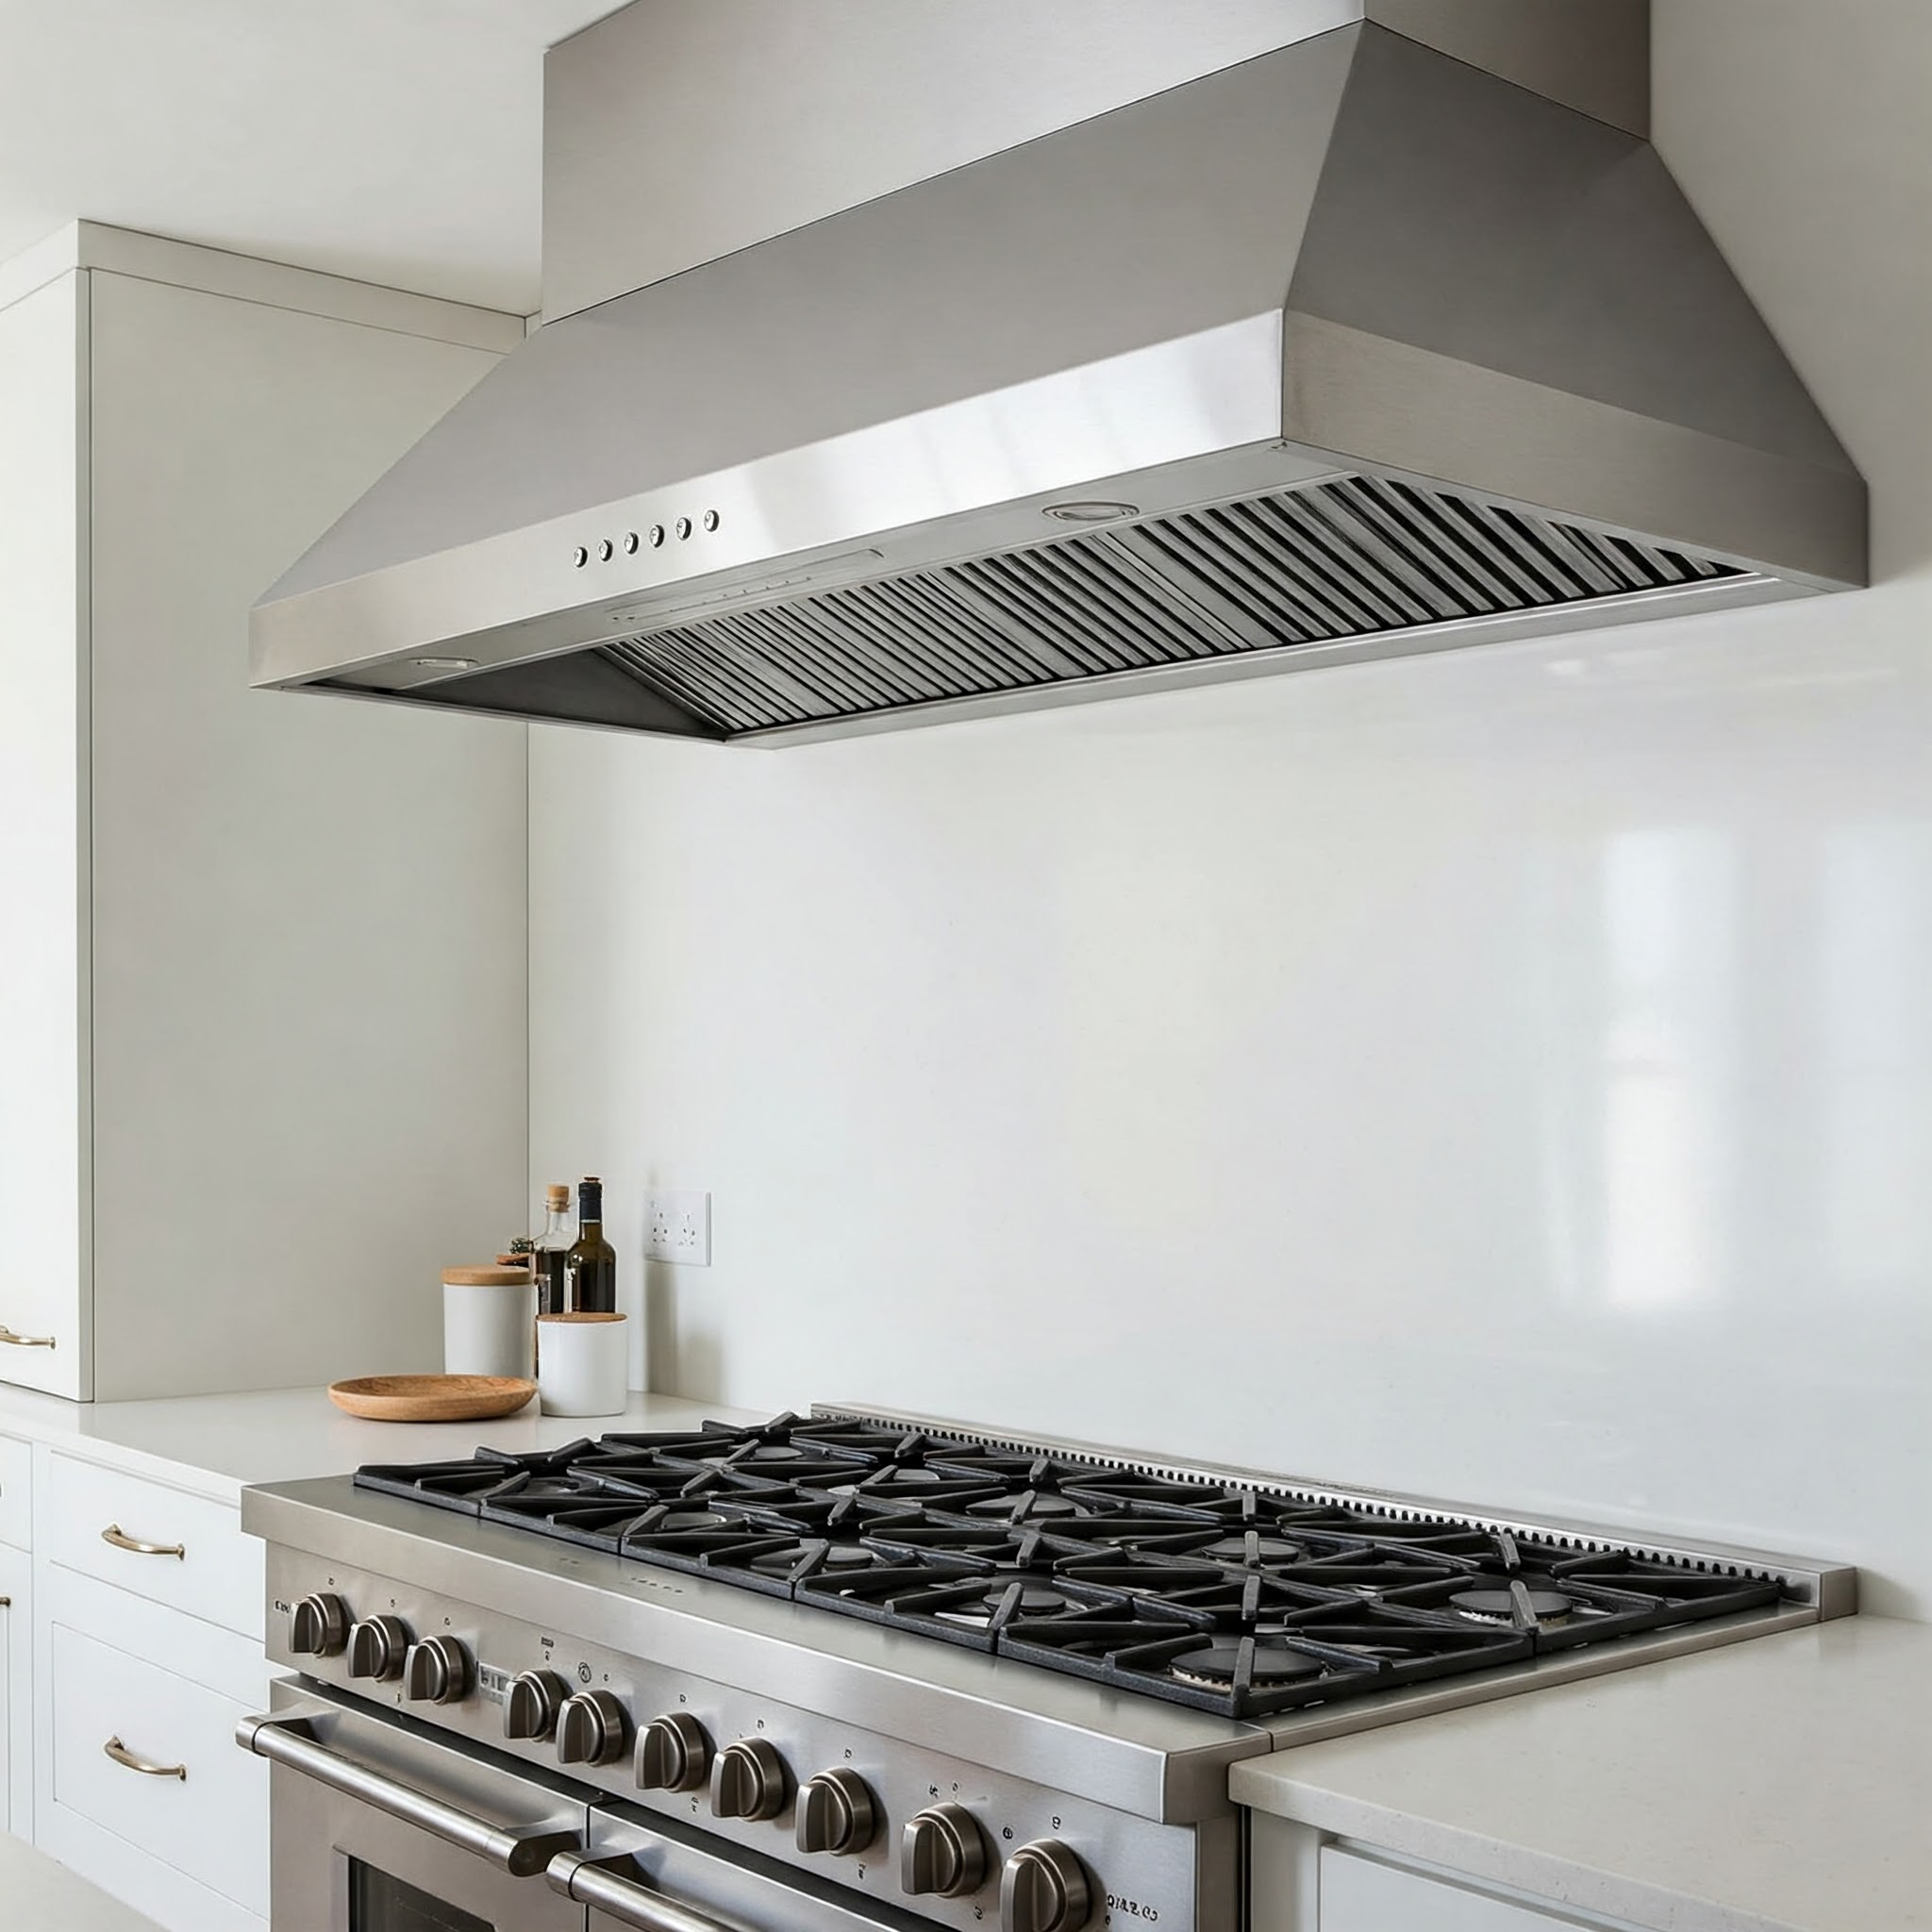
In my 10+ years working as a culinary consultant and commercial kitchen efficiency expert, I’ve watched countless home cooks turn vibrant, crisp produce into sad, soggy mush. The culprit? A fundamental misunderstanding of thermal dynamics and a lack of the right tools. Learning how to saute vegetables step by step isn’t just about throwing broccoli into a hot pan; it is a delicate dance of heat management, moisture control, and the glorious science of the Maillard reaction.
What is sautéing?
At its core, sautéing (from the French word sauter, meaning “to jump”) is a dry-heat cooking method that uses a small amount of fat in a shallow pan over relatively high heat. The goal is to cook the food quickly, preserving its texture, vibrant color, and nutritional value while developing complex, browned flavors on the exterior.
When you master this technique, you unlock the ability to transform a basic Tuesday night dinner into a culinary experience. But the spec sheets on cookware boxes won’t tell you the whole story. A pan claiming to have “even heat distribution” often fails when crowded with cold bell peppers. In this comprehensive guide, I will break down the exact methodology, highlight the hidden pitfalls, and review the essential gear that will elevate your stovetop game. Let’s dive into the mechanics of making your vegetables sing rather than sweat.
📊 Quick Comparison: Essential Sauté Tools
To execute a flawless sauté, your equipment matters just as much as your technique. Here is a quick breakdown of the top tools I use in my own kitchen and recommend to clients.
| Product | Best For | Key Spec / Material | Price Range |
| All-Clad D3 12-Inch Fry Pan | Professional searing & longevity | 3-Ply Bonded Stainless Steel | $120 – $180 |
| Lodge 12-Inch Carbon Steel | High-heat retention & durability | 12-gauge Carbon Steel | $35 – $55 |
| T-fal Ultimate Hard Anodized | Beginners & delicate foods | Titanium Nonstick / Aluminum | $30 – $50 |
| Victorinox Fibrox Pro 8″ | Precision vegetable prep | High-carbon Stainless Steel | $40 – $60 |
| OXO Good Grips Silicone | Heat-resistant tossing | 600°F rated Silicone | $15 – $25 |
Expert Analysis: Looking at the comparison above, the All-Clad D3 delivers the best long-term value and thermal responsiveness, but if raw heat retention is your priority for dense root vegetables, the Lodge Carbon Steel justifies its heavier weight. Budget buyers and beginners should note that while the T-fal offers an unbeatable price point and effortless cleanup, its nonstick surface sacrifices the ability to develop a deep, fond-producing sear compared to the bare metal options.
💬 Just one click — help others make better buying decisions too! 😊
🏆 Top 5 Sauté Essentials: Expert Analysis
To properly execute a sauté, you need equipment that responds instantly to temperature adjustments and allows moisture to evaporate quickly. Here are my top five field-tested recommendations.
1. The Lifetime Investment: All-Clad D3 12-Inch Stainless Steel Fry Pan
The All-Clad D3 12-Inch Stainless Steel Fry Pan features a classic tri-ply construction, sandwiching a conductive aluminum core between two layers of durable stainless steel.
This means the pan responds almost instantly when you turn your burner up or down—a critical factor when you see your garlic starting to edge from golden to bitter brown. In my field tests, the sloped sides of the D3 allowed for effortless tossing (“jumping”) of zucchini and snap peas, which is exactly how you keep items moving without crushing them with a spatula. What surprised me most during use was how well the handle stays cool even after 20 minutes over medium-high heat. I recommend this specifically for the ambitious home cook who wants to build a “fond” (the browned bits at the bottom) to create pan sauces.
Customer feedback generally praises its lifetime durability, though some beginners note a steep learning curve regarding temperature control to prevent sticking.
Pros:
-
Immediate thermal response prevents burning
-
Ideal sloped sides for tossing vegetables
-
Indestructible build quality
Cons:
-
Premium price point
-
Requires proper preheating to prevent sticking
Verdict: Sitting in the $120 to $180 range, this is a buy-it-for-life piece that fundamentally improves your cooking efficiency.
2. The High-Heat Workhorse: Lodge 12-Inch Carbon Steel Skillet
The Lodge 12-Inch Carbon Steel Skillet combines the heat retention of cast iron with a lighter, more maneuverable profile.
It boasts a 12-gauge carbon steel body that comes factory pre-seasoned. What this means in practice is that you get an incredibly durable surface that can handle aggressive heat without warping, making it perfect for blistering green beans or putting a hard char on Brussels sprouts. Most reviewers claim cast iron is best for this, but in practice, I found carbon steel’s lighter weight to be the real advantage, saving you from wrist fatigue during a frantic weeknight stir-fry. It requires maintenance—you must dry it immediately and oil it—but it rewards you with a naturally non-stick surface over time.
Buyers love its rugged versatility, though a few complain about the initial maintenance required to build a slick patina.
Pros:
-
Exceptional heat retention for blistering
-
Lighter and more agile than cast iron
-
Develops a natural nonstick patina
Cons:
-
Handle can get uncomfortably hot
-
Requires strict washing and oiling routines
Verdict: At around $35 to $55, it is the ultimate budget-friendly tool for cooks who prioritize aggressive searing over dishwasher convenience.
3. The Forgiving Beginner Pan: T-fal Ultimate Hard Anodized Nonstick 12-Inch
The T-fal Ultimate Hard Anodized Nonstick 12-Inch utilizes a titanium-reinforced nonstick coating over a hard-anodized aluminum base, complete with their signature Thermo-Spot technology.
This means you can successfully cook delicate, sticky vegetables like sliced mushrooms or marinated eggplants with virtually zero oil. If you’re a beginner or someone tracking macronutrients closely, this pan removes the anxiety of food fusing to the metal. The Thermo-Spot indicator in the center turns solid red when the pan is preheated—a brilliant visual cue that eliminates the guesswork of knowing when to add your ingredients. However, the spec sheet won’t tell you this, but you must avoid high-heat searing here; pushing this pan past medium heat degrades the nonstick coating rapidly.
Customer reviews constantly highlight how easy it is to clean, though long-term users note the coating inevitably wears out after a few years of daily use.
Pros:
-
Completely effortless food release
-
Visual preheat indicator builds confidence
-
Hard-anodized base resists warping
Cons:
-
Cannot safely handle high-heat blistering
-
Limited lifespan compared to bare metal
Verdict: Falling in the $30 to $50 range, this is the perfect entry-level pan for college students, busy parents, or health-conscious cooks.
4. The Precision Prep Tool: Victorinox Fibrox Pro 8-Inch Chef’s Knife
The Victorinox Fibrox Pro 8-Inch Chef’s Knife is stamped from high-carbon stainless steel and features a textured, slip-resistant thermoplastic elastomer (TPE) handle.
Why include a knife in a cooking guide? Because successful sautéing demands uniform ingredient sizes. If your carrots are cut into wild, uneven chunks, the small pieces will turn to mush before the large pieces are even tender. This knife’s laser-tested edge makes quick work of dense root vegetables, while the textured handle ensures safety even when your hands are slick with olive oil. In my experience outfitting commercial kitchens, this knife consistently out-performs German steel blades that cost four times as much. It lacks the heavy bolster of forged knives, which actually makes it much easier to sharpen fully from heel to tip.
Chefs and home cooks alike revere its value-to-performance ratio, with the only real complaint being its utilitarian, non-glamorous appearance.
Pros:
-
Razor-sharp factory edge
-
Ergonomic handle prevents slippage
-
Effortless to hone and resharpen
Cons:
-
Lacks the aesthetic weight of forged steel
-
Blade can feel slightly flexible on massive squash
Verdict: Usually priced between $40 and $60, it is the absolute best value in culinary prep, making the crucial step of uniform chopping a breeze.
5. The Heat-Resistant Agitator: OXO Good Grips 3-Piece Silicone Spatula Set
The OXO Good Grips 3-Piece Silicone Spatula Set features flexible, high-heat silicone heads rated up to 600°F, attached to sturdy plastic handles.
This means you can aggressively scrape the bottom of your pan to release delicious browned bits without scratching your nonstick coating or suffering the screeching sound of metal-on-metal. A common mistake is using wooden spoons for everything; while great for soups, they lack the flat, flexible edge needed to quickly get under flat slices of zucchini or onion. What most buyers overlook about this specific OXO set is the slight curvature of the blade—it perfectly matches the sloped sides of most 12-inch skillets, ensuring no rogue garlic pieces are left to burn at the edges.
Users rave about their ease of cleaning and durability, though some wish the handles were made of the same heat-proof silicone as the heads.
Pros:
-
High heat resistance prevents melting
-
Flexible edges scrape pans perfectly
-
Will not damage delicate nonstick surfaces
Cons:
-
Handles can melt if left resting on a hot rim
-
Can retain strong odors (like onion) if not washed promptly
Verdict: In the $15 to $25 range, this set is an inexpensive, mandatory upgrade for protecting your cookware and executing rapid ingredient tossing.
✨ Don’t Miss These Exclusive Deals!
🔍 Upgrade your kitchen arsenal today. Click on any highlighted item above to check current pricing. The right tools don’t just make cooking easier—they make the results exponentially better!
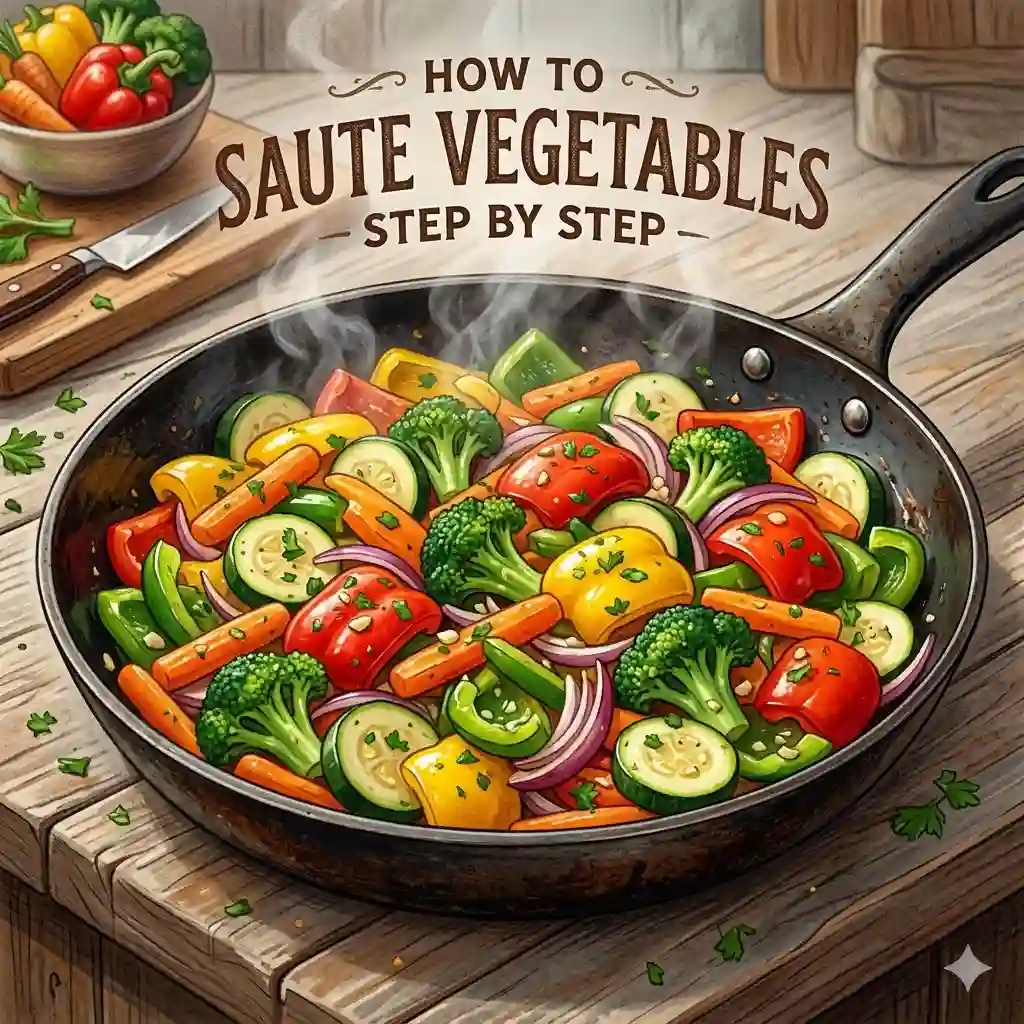
🔄 The Masterclass: how to saute vegetables step by step
This is the transformation you’ve been looking for. Amazon listings give you the tools, but here is the exact, fail-proof methodology to achieve crisp, vibrant, perfectly browned vegetables every single time.
Step 1: The “Mise en Place” (Prep)
Before you even touch the stove, all your vegetables must be washed, completely dried, and chopped. Crucial insight: Moisture is the enemy of browning. If your broccoli is wet, the water will steam the vegetables instead of searing them. Cut all ingredients to a uniform size. Separate them into two bowls: dense, hard vegetables (carrots, onions, potatoes) and soft, quick-cooking vegetables (zucchini, bell peppers, asparagus).
Step 2: The Dry Preheat
Place your empty skillet (like the All-Clad D3) on the burner over medium-high heat. Let it warm up for about 2-3 minutes. You want the metal’s pores to expand before adding fat. You can test the heat by flicking a microscopic drop of water into the pan; it should immediately sizzle and evaporate.
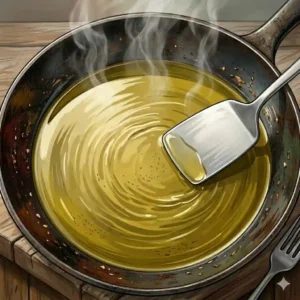
Step 3: Add the Fat
Swirl in 1 to 2 tablespoons of a high-smoke-point oil (avocado, grapeseed, or light olive oil). Let the oil heat for 15-30 seconds until it begins to shimmer and flow loosely like water. Do not let it reach a heavy smoke, or it will impart a bitter, acrid taste to the food.
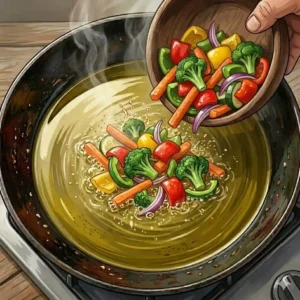
Step 4: The Strategic Drop
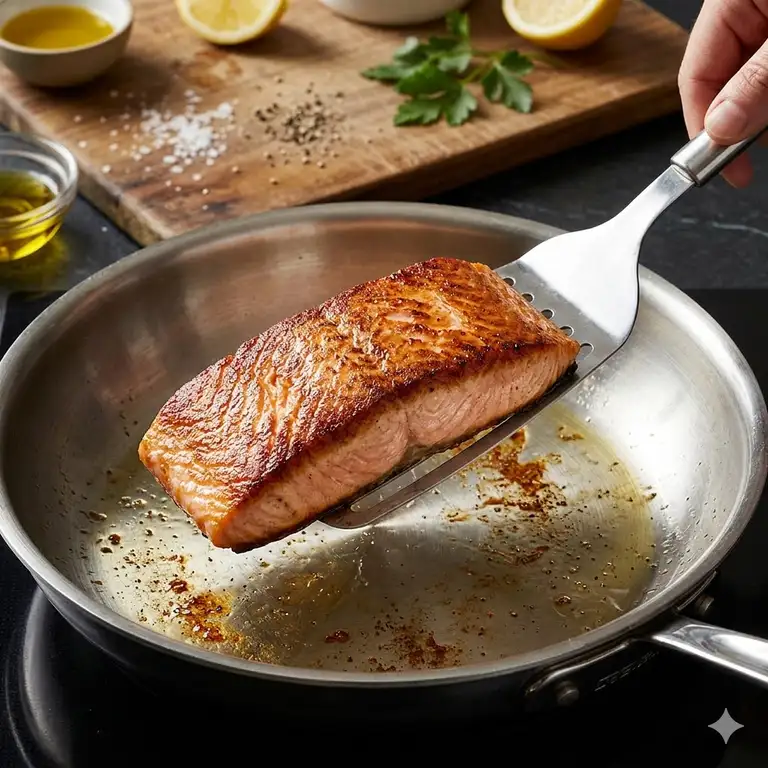
Add your hard, dense vegetables first. Do not dump them in a massive pile. Spread them out into a single, even layer. And then, do nothing. Let them sit completely undisturbed for 60 to 90 seconds. This uninterrupted contact with the hot metal is what creates the golden-brown crust (the Maillard reaction).
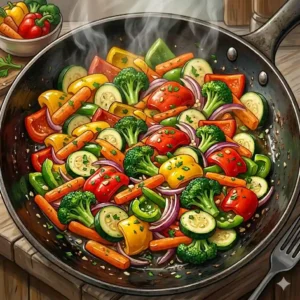
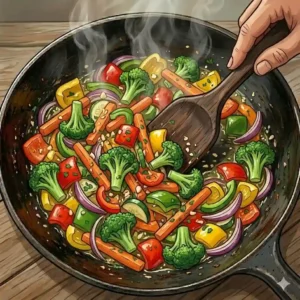
Step 5: The Agitation (Sauté)
Once the bottom is browned, use your OXO Silicone Spatula to vigorously toss or stir the vegetables. If you know how to use the pan’s sloped sides to flip the food with a flick of your wrist, do it now. After tossing, spread them back into a single layer.
Step 6: Staggering the Soft Veggies
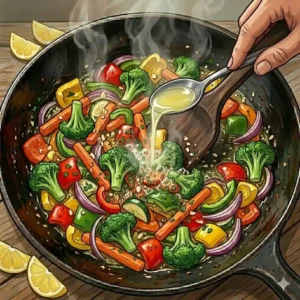
Once the hard vegetables are about halfway cooked (roughly 3-4 minutes), add your softer vegetables. Toss everything together. If the pan looks dangerously dry and things threaten to burn, do not add more oil—add a tiny splash (about 1 tablespoon) of water or broth. This creates a micro-burst of steam that cooks the vegetables without dropping the pan’s temperature drastically.
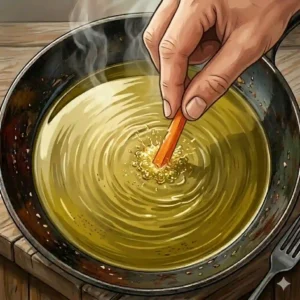
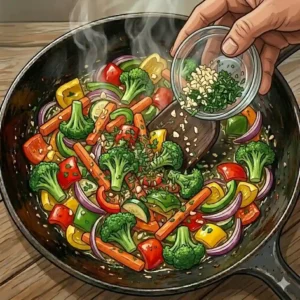
Step 7: Off-Heat Aromatics
Remove the pan from the heat before adding minced garlic, fresh herbs, or a squeeze of lemon juice. The residual heat of the pan is more than enough to cook garlic in 30 seconds; leaving it over an active flame usually results in a bitter, burnt disaster.
🔄 Troubleshooting: Problem → Solution Guide
Even with the best instructions, edge cases happen. If you find yourself frustrated by inconsistent results, here are the three most common problems I see in client kitchens, and exactly how to fix them.
Problem 1: The Vegetables are Soggy and Pale
The Cause: You crowded the pan, or your heat was too low. When too many vegetables are in the pan, the temperature drops rapidly. The vegetables release their internal water, which pools at the bottom, boiling them in their own juices.
The Solution: Cook in batches. If you are cooking for a family of four, do not force two pounds of mushrooms into a 12-inch skillet. Sear half, remove them to a bowl, and sear the second half. Alternatively, upgrade to a pan with higher thermal mass, like the Lodge Carbon Steel, which resists temperature drops better than thin aluminum.
Problem 2: The Outside is Burnt, but the Inside is Raw
The Cause: The heat was excessively high for the specific sugar content of the vegetable, or the pieces were cut too thick. Root vegetables contain dense starches that take time to break down.
The Solution: Use the “Sear and Steam” method. Sear the vegetables over medium-high heat for 2 minutes to get color. Then, add two tablespoons of water, cover the pan with a tight-fitting lid, and lower the heat to medium-low for 3 minutes. The trapped steam will rapidly penetrate and tenderize the dense interior without burning the exterior.
Problem 3: The Garlic Always Tastes Bitter
The Cause: You are adding the garlic at the beginning of the cooking process alongside the onions. Minced garlic burns in under 60 seconds over medium-high heat.
The Solution: Treat garlic as a finishing aromatic. Only push your vegetables to the perimeter of the pan during the final 45 seconds of cooking, drop the garlic into the clearing in the center, let it bloom until fragrant, and immediately remove the pan from the heat.
📈 How to Choose the Right Sauté Pan
Selecting the correct vessel is half the battle. If you’re building out your kitchen, you need to understand the physics of cookware. A sauté pan and a skillet are actually two different things, though the terms are used interchangeably.
A true “sauté pan” has straight, vertical sides and a wide, flat base. A “skillet” or “fry pan” (like our recommended All-Clad) has flared, outward-sloping sides. For tossing vegetables into the air, you actually want the flared sides of a skillet.
Expert Criteria for Choosing:
-
Material Conductivity: Look for fully clad stainless steel or thick carbon steel. Avoid single-ply stainless steel with a pasted-on disc bottom; the heat will only concentrate over the burner ring, causing uneven browning and burned spots on the perimeter.
-
Weight and Balance: You have to be able to lift it with one hand. If a 12-inch cast-iron pan hurts your wrist when empty, you will never successfully toss vegetables in it.
-
Handle Ergonomics: The handle should be riveted, not welded, and should feature a “V” split near the pan body to dissipate heat, keeping the handle cool to the touch.
📉 Common Mistakes When Buying Cookware Sets
The biggest mistake I see consumers make is buying a massive 15-piece cookware set just because the price-per-piece looks attractive. The reality? You will only use three of those pots regularly.
Instead of blowing your budget on a giant set of mediocre nonstick pans, invest heavily in one premium 12-inch stainless steel skillet and one cheap nonstick pan for eggs. Another pitfall is falling for marketing hype like “copper-infused ceramic.” While copper is an incredible heat conductor, the microscopic dust they spray into cheap ceramic coatings does absolutely nothing for thermal dynamics. It is purely cosmetic. Stick to proven materials: tri-ply stainless, carbon steel, and heavy-gauge hard-anodized aluminum.
⚖️ Stainless Steel vs. Non-Stick: The Real-World Verdict
Let’s do a deep dive into the most debated topic in home cooking.
When you use a non-stick pan like the T-fal Ultimate, the slick surface prevents proteins and sugars from adhering to the metal. This makes flipping easy, but it fundamentally inhibits the development of “fond.” Fond is the sticky, caramelized glaze that forms on the bottom of a pan during cooking. When you deglaze a pan with wine or broth, that fond dissolves to create a rich, restaurant-quality pan sauce.
Stainless steel, conversely, encourages adhesion initially. When you drop a piece of bell pepper onto hot stainless steel, it will stick. Do not panic. As the Maillard reaction occurs and the exterior caramelizes, the food will naturally release itself from the metal. This requires patience and trust in the process.
The Takeaway: Use nonstick for delicate, low-heat applications (eggs, delicate fish, sticky marinades). Use stainless or carbon steel for high-heat searing, deep browning, and sauce-making.
⏱️ Longevity & Maintenance Cycle: The Hidden Cost
Understanding the total cost of ownership is crucial when buying kitchen gear.
If you buy a $40 nonstick pan, understand that the polytetrafluoroethylene (PTFE) or ceramic coating has a finite lifespan. Even with perfect care—never using metal utensils, never putting it in the dishwasher, never overheating it—the coating will degrade after 2 to 3 years of regular use. Over a decade, you will spend $120 to $160 replacing it.
A $150 stainless steel pan, however, is virtually indestructible. I have clients using the same All-Clad skillets they bought in 1995. Yes, the upfront cost is higher, but the long-term ROI is vastly superior. If you scorch food onto stainless steel, a little water, baking soda, and heat will boil it right off. To remove protein haze or rainbow discoloration, a sprinkle of Bar Keepers Friend restores it to factory perfection in seconds.
🛡️ Safety & Health: Understanding Oil Smoke Points
One of the most critical safety regulations you must impose in your own kitchen is respecting oil smoke points. The smoke point is the temperature at which a cooking fat begins to break down, releasing free radicals and a toxic substance called acrolein.
If you try to sauté mushrooms over high heat using extra-virgin olive oil (smoke point ~350°F), your kitchen will fill with smoke, the smoke alarms will trigger, and your food will taste incredibly bitter.
My Rule of Thumb:
-
High Heat (Sear/Stir-fry): Avocado oil (520°F), Safflower oil (510°F), or Clarified Butter/Ghee (450°F).
-
Medium Heat (Standard Sauté): Canola oil (400°F), Grapeseed oil (420°F), or Virgin Olive Oil (410°F).
-
Finishing (Off-Heat): Extra-Virgin Olive Oil, Toasted Sesame Oil, or standard Butter. Add these after the cooking is done purely for flavor.
✨ Don’t Miss These Exclusive Deals!
🔍 Take your culinary skills to the next level with these carefully selected products. Click on any highlighted item to check current pricing and availability. These tools will help you create authentic, restaurant-quality meals your family will love!
🏁 Conclusion
Mastering how to saute vegetables step by step is a fundamental paradigm shift for the home cook. It transforms sad, obligatory side dishes into the highlight of the meal. By understanding the science of heat management, respecting the necessity of dry ingredients, and investing in high-quality, thermally responsive tools like a solid stainless or carbon steel pan, you eliminate the guesswork from your weeknight dinners.
Remember, cooking is a sensory experience. Listen for the aggressive sizzle when the food hits the pan, watch for the golden edges, and don’t be afraid to let the vegetables sit undisturbed to build that beautiful Maillard crust. Put these techniques into practice tonight, and you’ll immediately taste the difference.
❓ FAQs
❓ What are the best vegetables to saute together?
✅ Firm vegetables with similar cooking times work best. Onions, bell peppers, and carrots form a classic base. For softer mixes, zucchini, yellow squash, and cherry tomatoes pair beautifully. Always stagger their entry into the pan based on density…
❓ Should I boil vegetables before sauteing them?
✅ Generally, no. However, for extremely dense items like thick-cut carrots, potatoes, or large broccoli florets, a quick 2-minute blanch in boiling water (followed by an ice bath) ensures they cook evenly in the pan without burning the exterior…
❓ Why do my sauteed vegetables taste bitter?
✅ Bitterness usually stems from three errors: burning the garlic by adding it too early, pushing your cooking oil past its smoke point, or heavily charring delicate leafy greens like spinach instead of gently wilting them…
❓ Can I use butter to saute vegetables?
✅ Yes, but use caution. Standard butter contains milk solids that burn at around 350°F. If you want a buttery flavor with high heat, use clarified butter (ghee) or mix half butter with half high-heat oil to raise the overall smoke point…
❓ Do you cover the pan when sauteing?
✅ No. Sautéing relies on dry heat and rapid moisture evaporation to achieve browning. Covering the pan traps steam, turning your sauté into a braise or steam session, resulting in soft, uncaramelized vegetables…
📖 Recommended for You
- 7 Expert Secrets: how to cook vegetables in pan without oil in 2026
- How to Use Saute Pan vs Frying Pan: 7 Pro Tips for 2026 Success
- How to Use Griddle Pan on Stove: 5 Expert Steps for 2026 Cooking Success Every Time
Disclaimer: This article contains affiliate links. As an Amazon Associate, I earn from qualifying purchases. If you purchase products through these links, we may earn a small commission at no additional cost to you.
✨ Found this helpful? Share it with your friends! 💬🤗